MEASURING AND INSPECTING WITH THE ROBOINSPECT RIS 300
WITH THE ROBOINSPECT RIS 300
In the following, we provide a brief general overview of the inspection functions of the RoboInspect RIS inspection machine. We would be pleased to explain further details as well as technical data to you per telephone or at an appointment with us on site.
Your contact person will be happy to advise you
Matthias Giray
Phone: +49 751 50920-25
Mailto: matthias.giray@roboworker.de
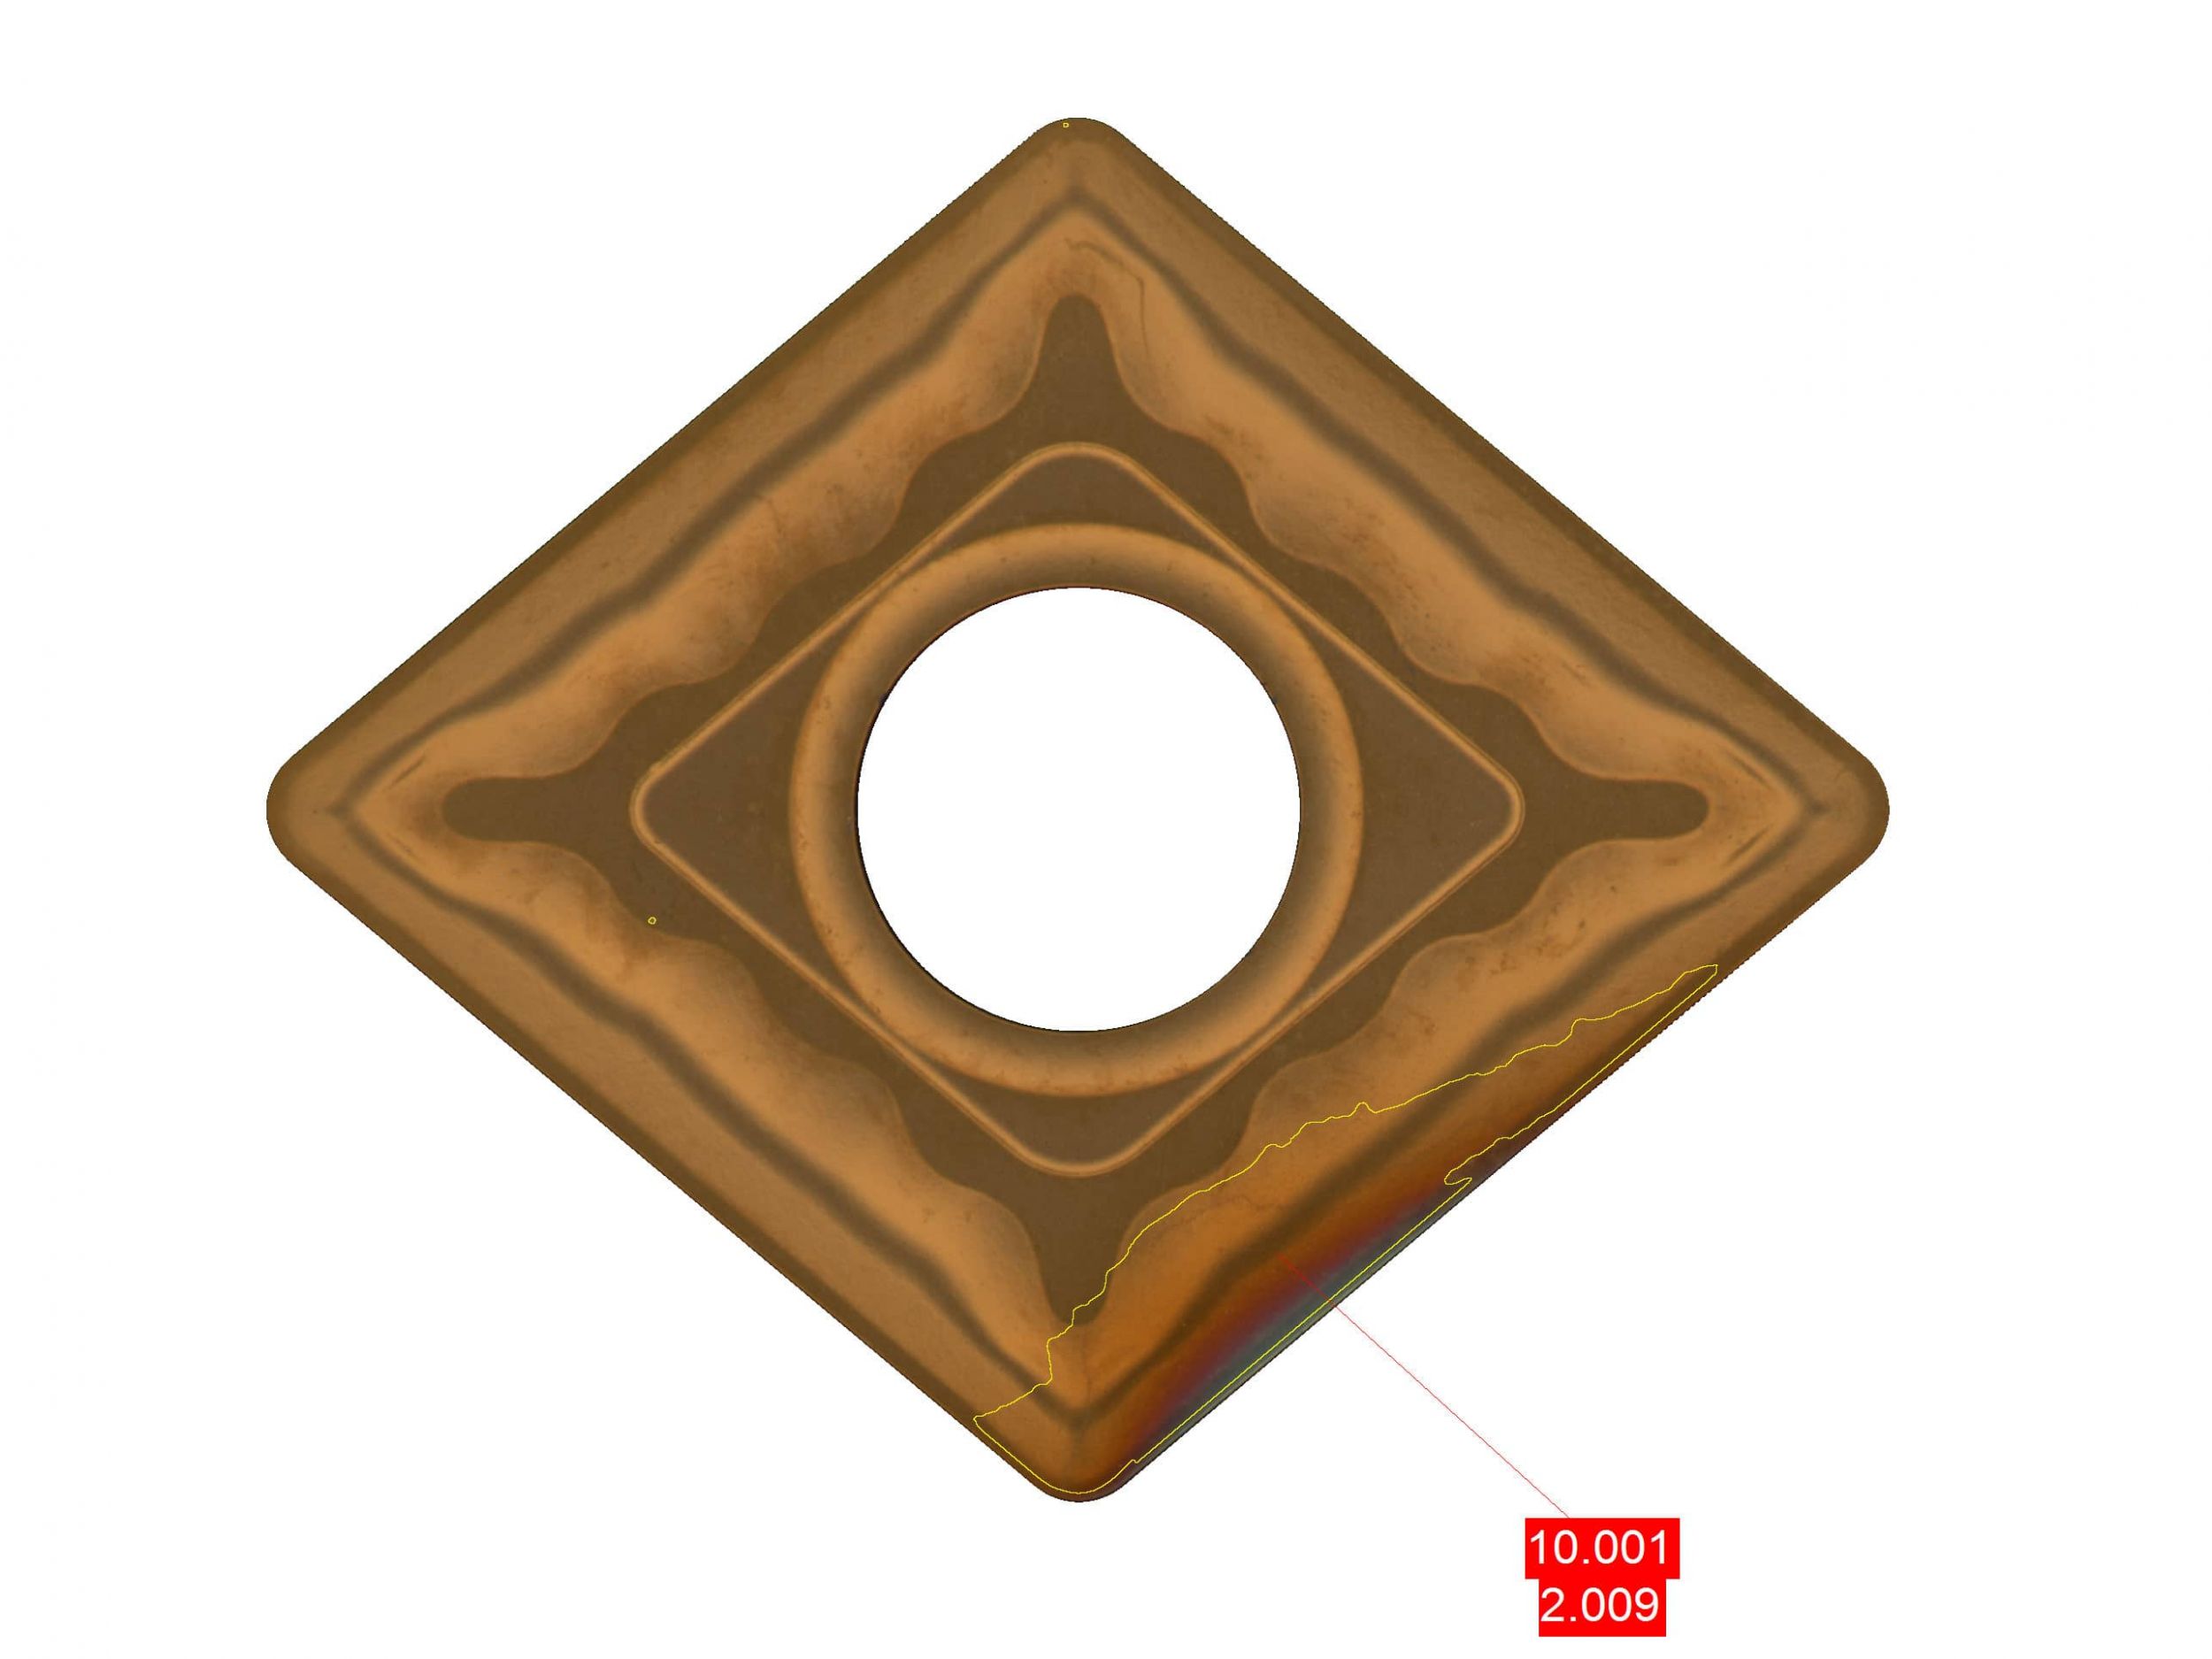
Inspection of Dimensional Accuracy
(Example of an indexable cutting insert)
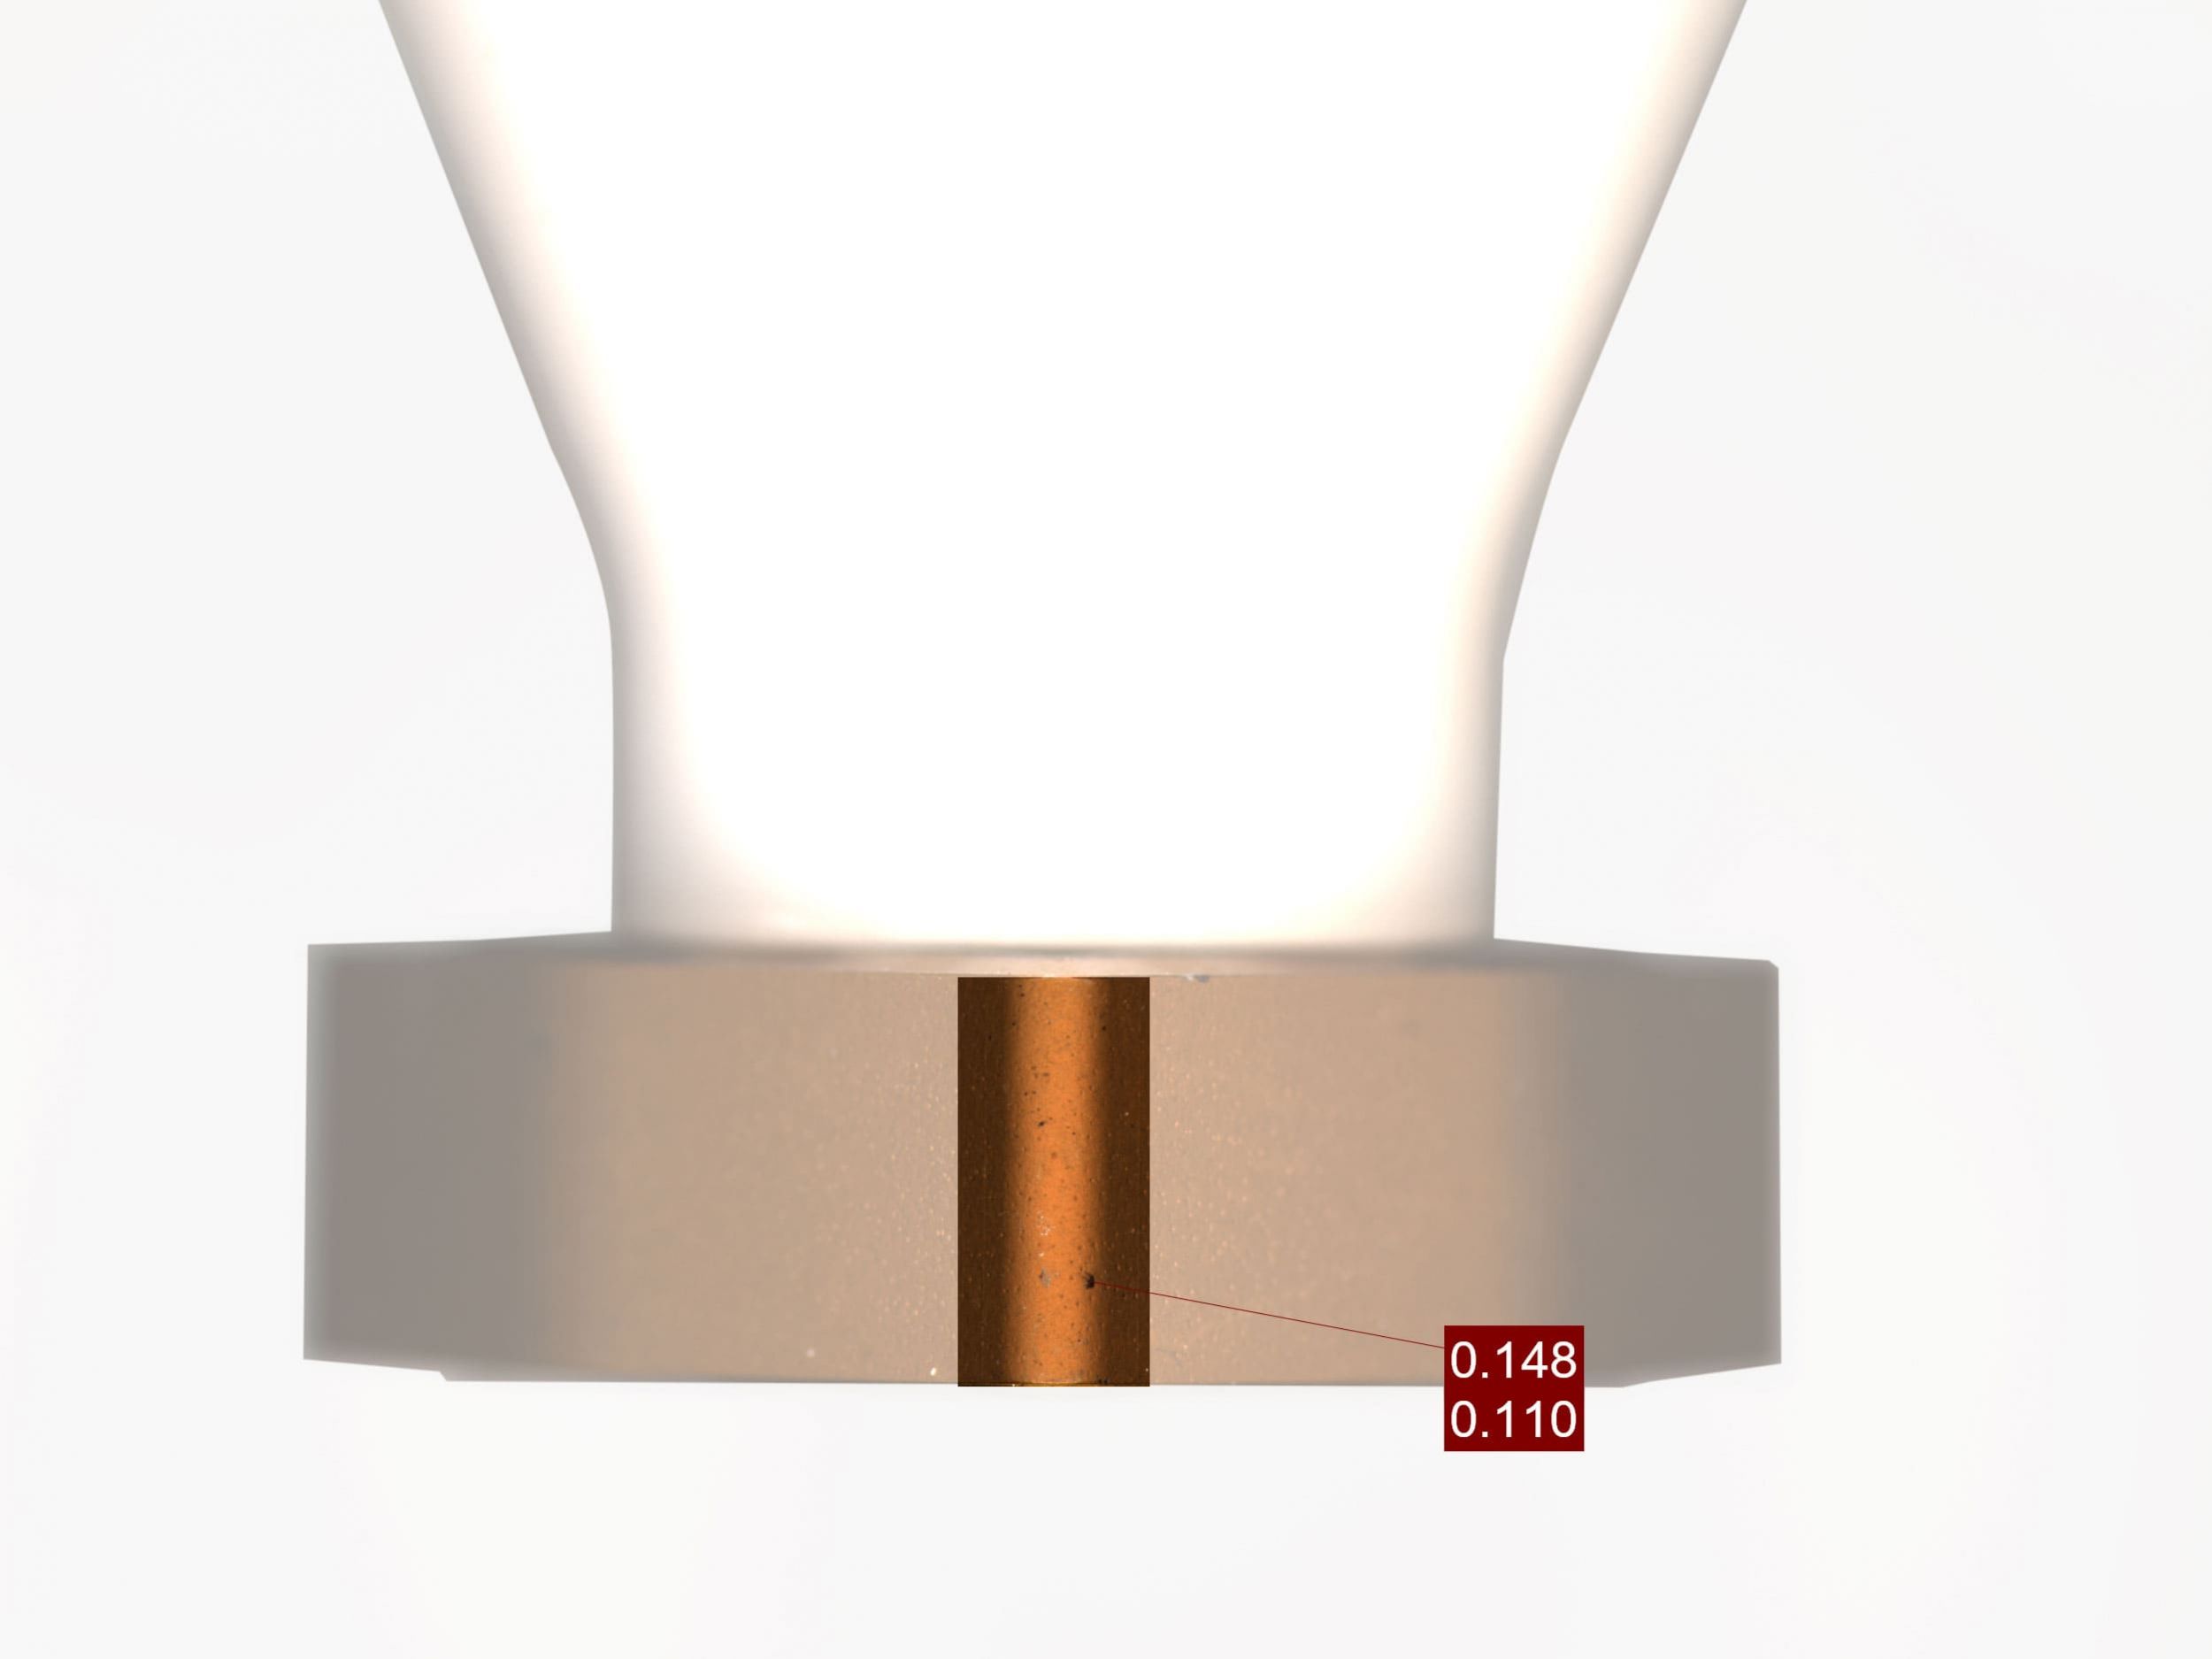
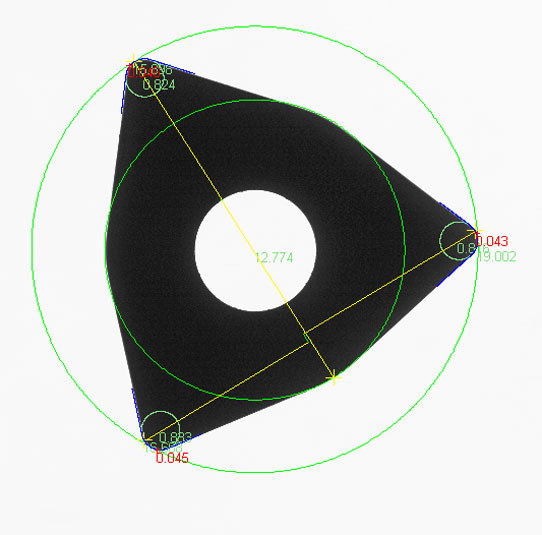
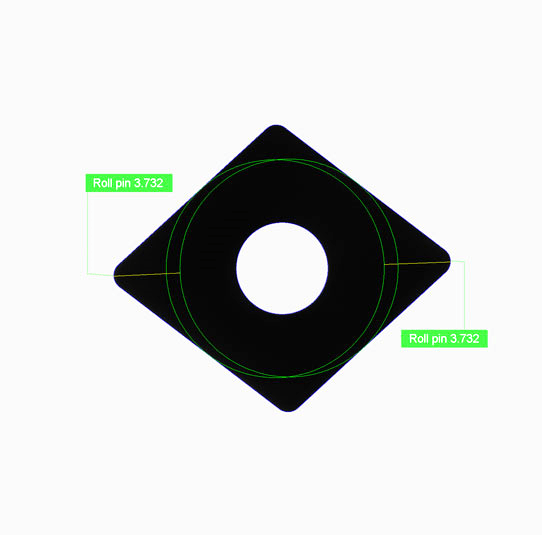
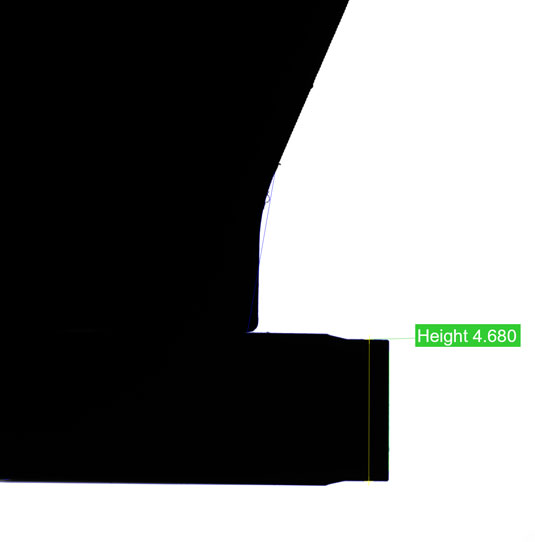
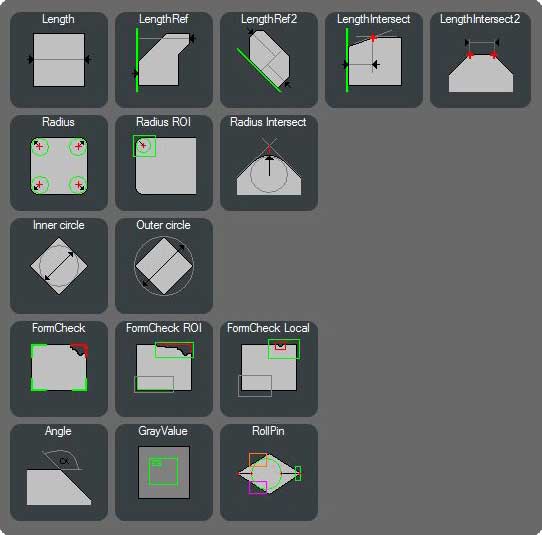
The measurements on the workpiece (from top/from side) are individually defined via a toolbox (M-Box) integrated into the inspection machine.
Standard measurements
- Lengths
- Widths
- Heights
- Roll Pin
- Radii
- Angles
- Inscribed circle
- Outer circle
- Form check
Individual complex measurements by combining different geometry elements and their results.
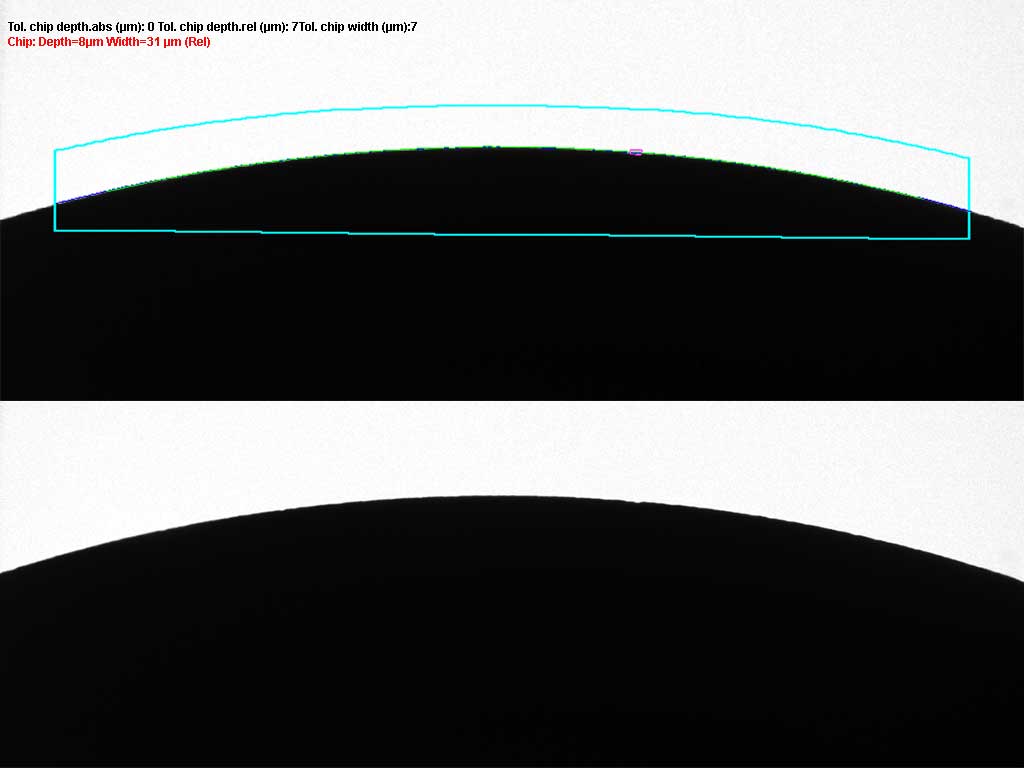
Edge Inspection
Recognition of:
- Edge chippings
- Edge cakings
- Form deviations
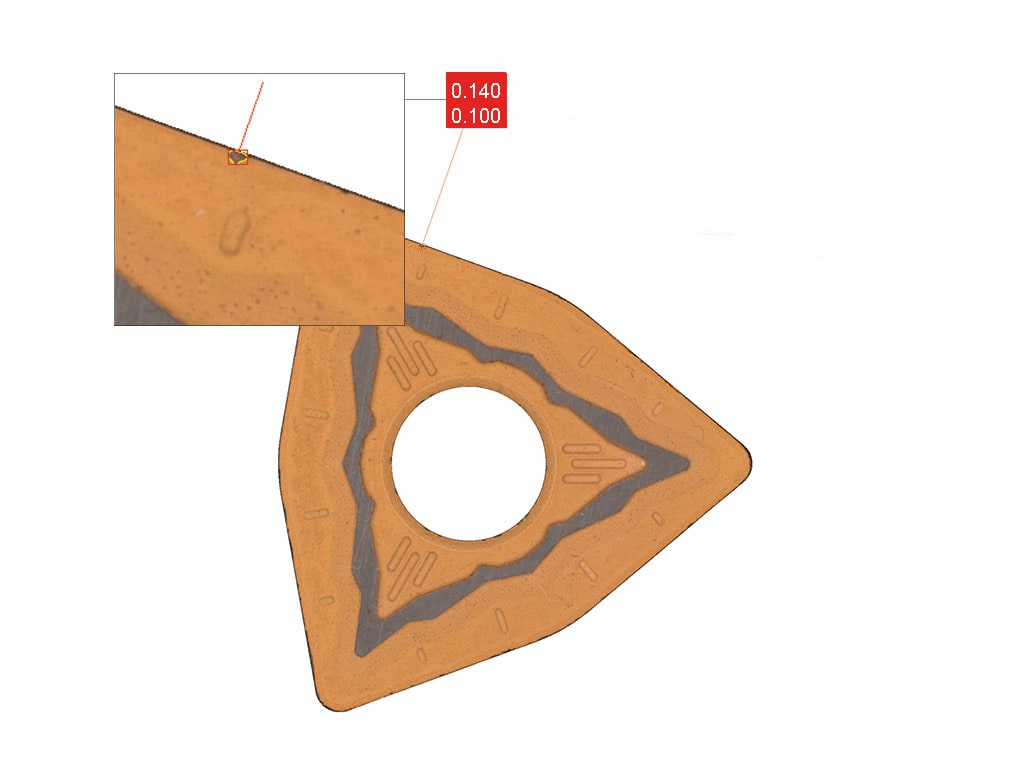
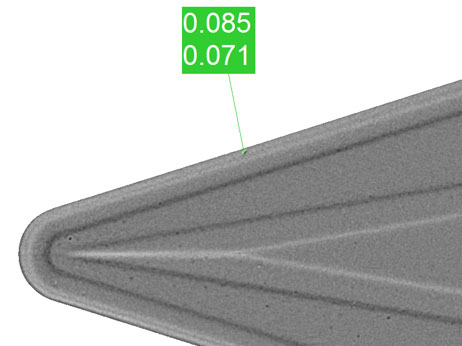
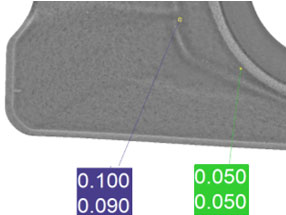
All-round surface inspection (shape-from-shading)
(Example of an indexable cutting insert)
Recognition of:
- Local edge chippings in the outer contour area
- Local surface defects, e.g. spallings, cakings, cracks
- Position deviations of the chip breakers (symmetry inspection)
- Type recognition (same outer contour but different chip breakers)
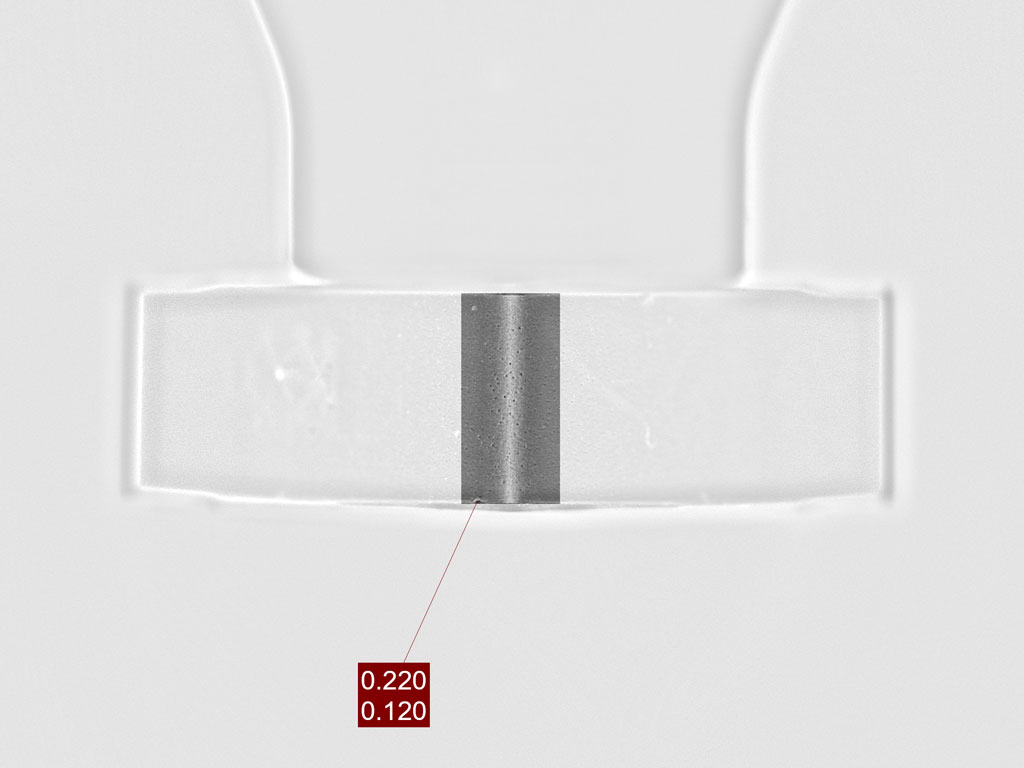
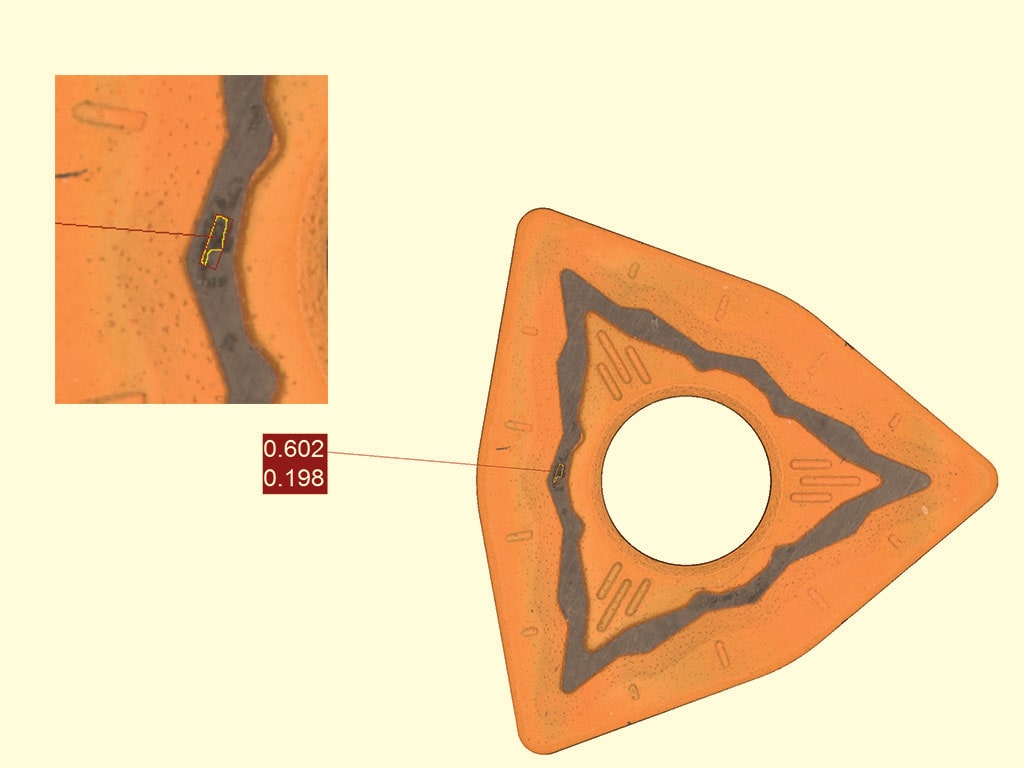
All-round surface inspection (color)
(Example of an indexable cutting insert)
Recognition of:
- Global color deviations of the complete part
- Color gradients
- Local coating defects on the surface (e.g. spots, discolorations, spallings)
- Local coating defects in the edge area
